Z-API

Z-API is an API for WhatsApp Business, allowing you to send and receive messages and manage your WhatsApp communications programmatically. With the Z-API app in Make, you can manage the messages, contacts, chats, group participants and admins, products, and queue messages in your Z-API account.
Requirements
To use the Z-API app in Make, you must have a Z-API account.
Connect Z-API and Make
To get started, you must first create a connection between Z-API and Make, allowing the two services to communicate.
To create the connection, you need to:
Obtain your Instance ID and Token ID in Z-API
Before you create the connection in Make, you should first obtain an Instande ID and Token ID in your Z-API account.
To obtain the Instance ID and Token ID:
Log in to your Z-API account.
In the left sidebar, click Web Instances.
Click + Add.
In the Web instance data field, enter a name for your instance.
Optional: In the Configure webhooks section, enter the webhooks to receive events from your instance.
Click Save to complete the creation of your instance.
Copy the Instances ID and Instance token values and store them in a safe place.
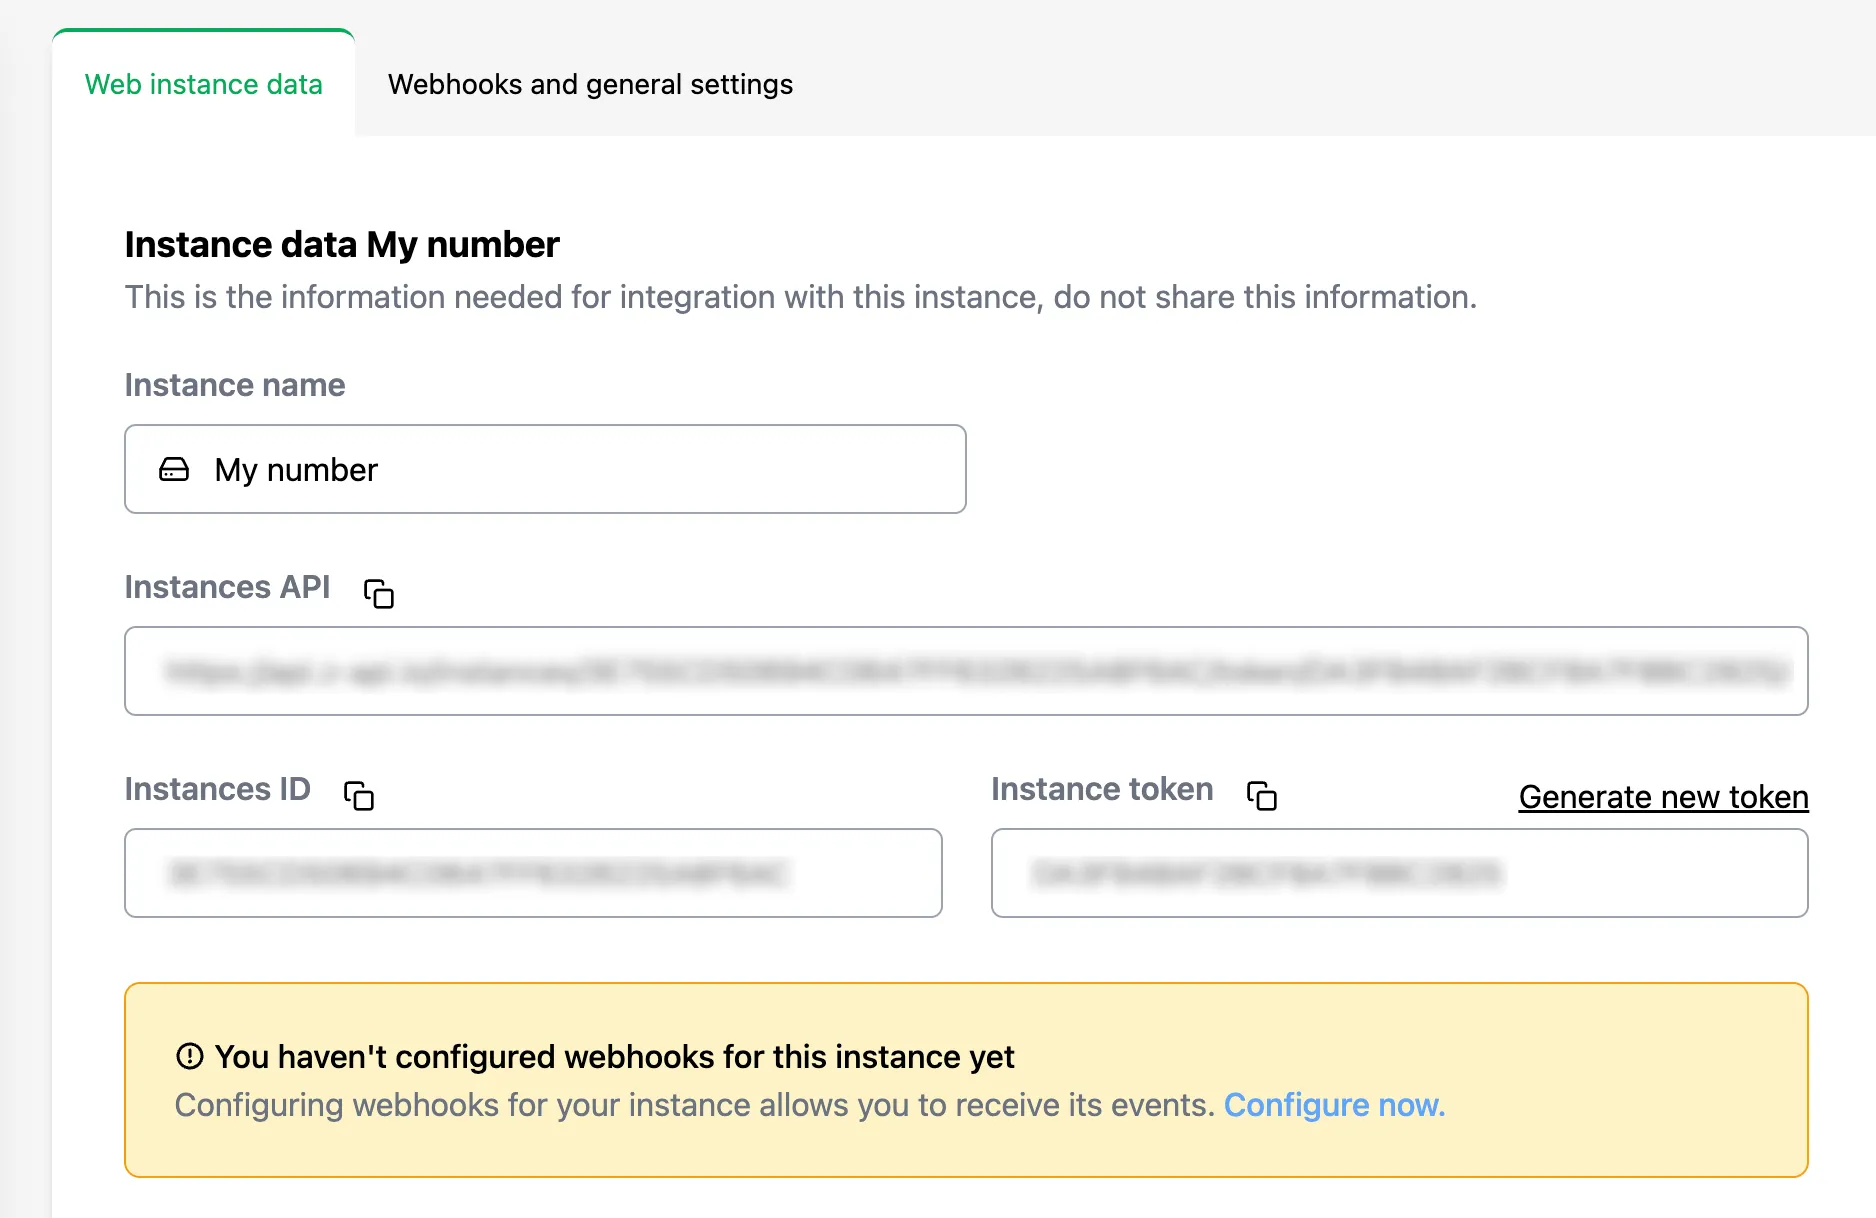
You'll use these values in the Instance ID and Token ID connection fields in Make.
Obtain your Client Token
Once you create your instance, you're ready to obtain your Client Token.
To obtain the Client Token:
In the left sidebar, click Security.
In the Account Security Token field, click Configure now.
Select a way to confirm the creation of the client token and enter the code sent.
Copy the Client Token value and store it in a safe place.
You'll use this value in the Client Token connection field in Make.
Create the connection in Make
Once you have your Z-API Instance ID, Instance Token, and Client Token, you're ready to create the connection in Make.
To create the connection:
Log in to your Make account, add a Z-API module to your scenario, and click Create a connection.
Optional: In the Connection name field, enter a name for the connection.
In the Name field, enter a name for the connection label that will be used in Z-API.
In the Instance ID field, enter the Instance ID value copied from your Z-API account.
In the Token ID field, enter the Instance token value copied from your Z-API account.
In the Client Token field, enter the Client Token value copied from your Z-API account.
Click Save.
If prompted, authenticate your account and confirm access.
You've successfully created the connection and can now use the Z-API app in your scenarios. If you want to make changes to your connection in the future, follow the steps here.
Z-API modules
After connecting to the Z-API app, you can use the following types of modules to build your scenarios.
Templates
You can look for Z-API templates in Make's template gallery, where you'll find thousands of pre-created scenarios.