WordPress (legacy)
This is the documentation for the legacy WordPress app. Here is the documentation for the new WordPress app.Here is the documentation for the new WordPress app.
Getting Started with WordPress
The Wordpress modules allow you to monitor, publish, update, delete, or search posts, pages, comments, media, users, and tags on your Wordpress site.
Prerequisites
- Wordpress installed on your server
- A Basic Authentication for JSON plugin installed in your Wordpress
- Modified .htaccess or web.config file (optional)
- Custom Fields for REST API plugin (optional, for working with custom fields)
In order to use Wordpress with Make, it is necessary to have the Wordpress content management system installed on your server or webhosting. You can download Wordpress at wordpress.org/download/ and install by following the instructions on wordpress.org/support/article/how-to-install-wordpress.
Connecting WordPress to Make
To connect your WordPress account to Make, the JSON Basic Auth plugin has to be installed in your WordPress installation.
Log in to your WordPress administration and open Plugins.

Click the Add New button.
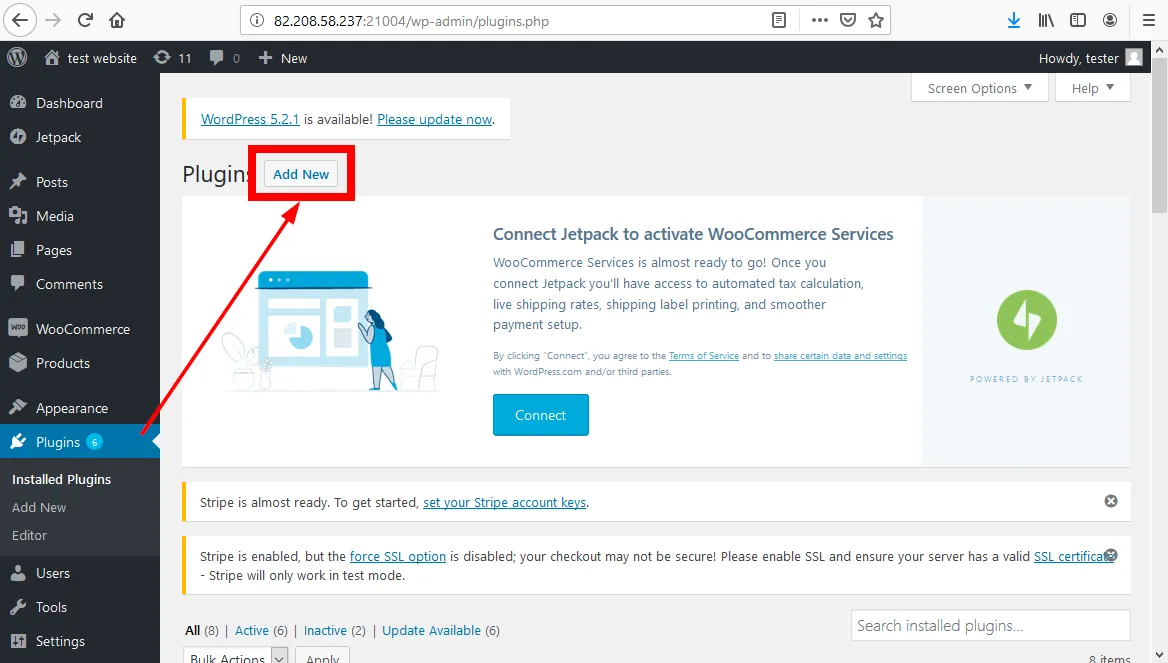
Click on the Upload plugin button, browse and select the plugin ZIP file.

- Click on the Install now button to install the plugin.
After the installation is finished, click on the Activate Plugin button.
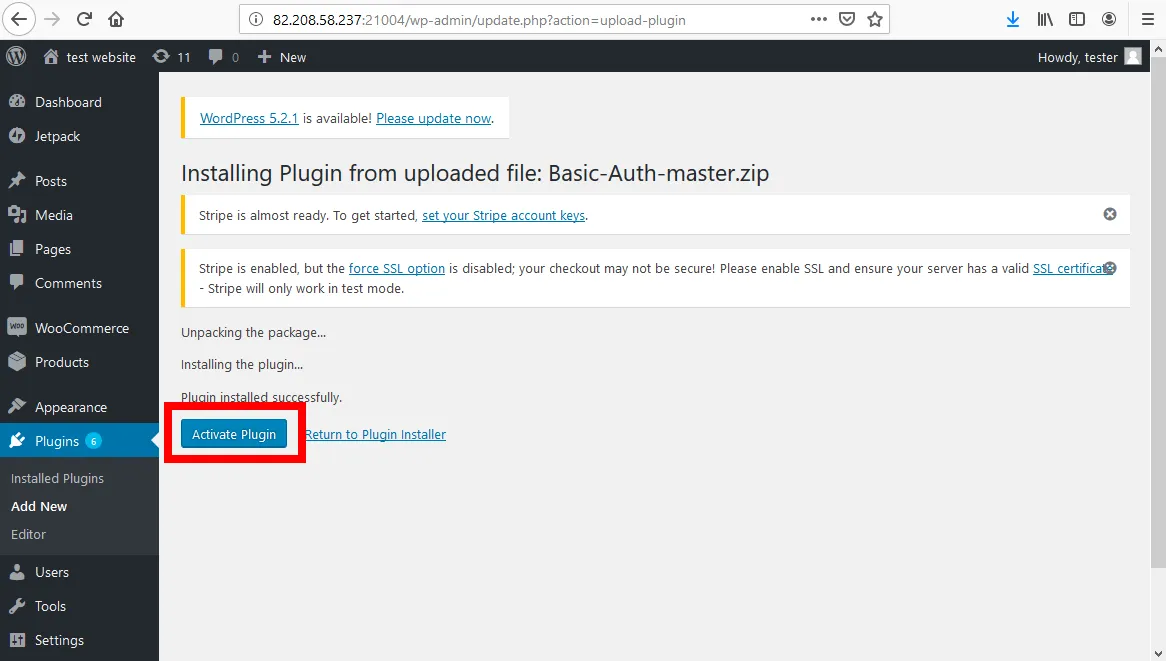
- Go to Make and open the Create a connection dialog of the desired WordPress module. Enter the URL of your WordPress site and your WordPress credentials to the respective fields.
- Establish a connection by clicking the Continue button.
If the connection is not established and an error is returned, you need to add the following code to your .htaccessfile to allow the HTTP authorization header:
<IfModule mod_setenvif>
SetEnvIf Authorization "(.*)" HTTP_AUTHORIZATION=$1
</IfModule>
If your WordPress is on the Windows server (IIS), please contact your administrator in order to allow the HTTP authorization header.
Add the Self-signed Certificate When Using Secured HTTPS Connection
Self-signed certificate | Click the Extract button to open the upload dialog. Upload the certificate to use the TLS with your self-signed certificate. Make does not retain or store any data (files, passwords) you provide. File and password are only used to extract the certificate. For more details about certificates and keys please refer to the Certificates and KeysCertificates and Keys article. |
|---|
Custom Fields for REST API plugin installation
- Visit https://wordpress.org/plugins/rest-api-custom-fields/ and download the Custom Fields for REST API plugin (direct link).
Log in to your Wordpress administration and open Plugins.
Click the Add New button.
- Click on the Upload plugin button, browse and select the plugin ZIP file.
- Click on the Install now button to install the plugin.
After the installation is finished, click on the Activate Plugin button.
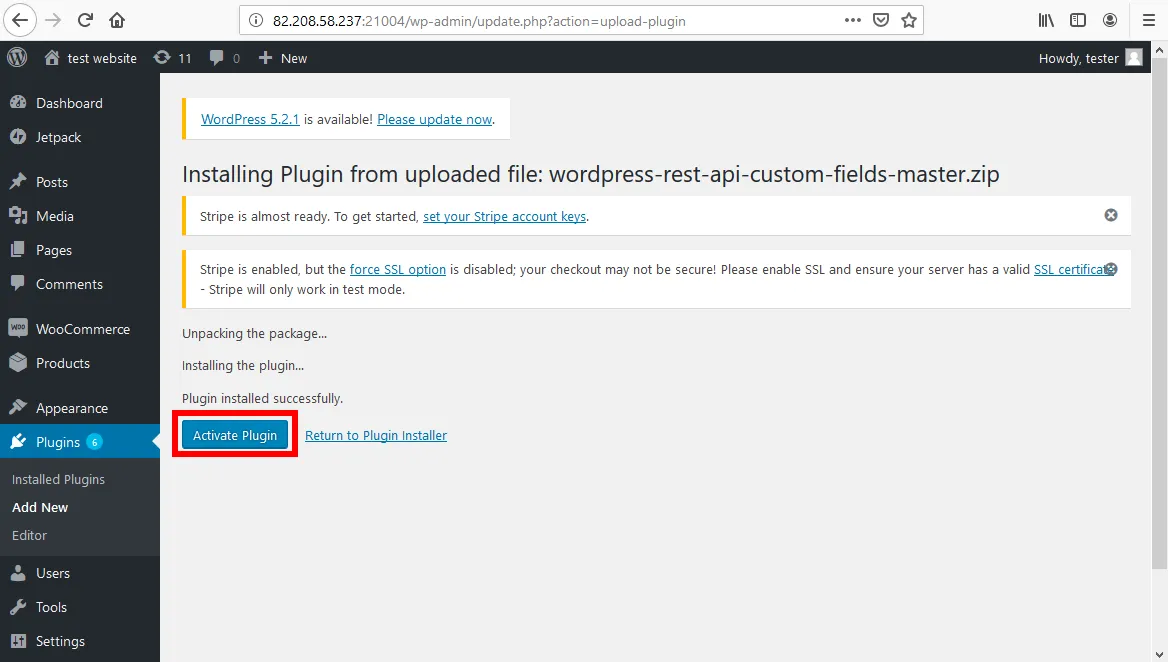
- Follow these instructions in order to add a custom field to your post, page, media, or another object.
- Go to Settings and open the Rest API Custom Fields dialog.
Select the desired object's custom fields you want to include in the REST API response.

- Click Save Settings.
The selected custom fields are now available in the module response.