monday.com

monday.com is a cloud-based project management program. With the monday.com app in Make, you can manage the boards, groups, teams, users, items, updates, subscribers, and files in your monday.com account.
Requirements
To use the monday.com app in Make, you must have a monday.com account.
External AI gateway access must be enabled in your monday.com account to use the Run monday.com AI (beta) and Run Platform Agent (beta) modules.
monday.com Version 1 is now legacy and its maintenance has ended. Make supports two versions of the monday.com app (Version 1 and Version 2).
To keep your scenarios running, click the upgrade arrow on your monday.com modules to switch to the Version 2.
For detailed information, see monday.com app v1 to v2 transition.
Connect monday.com and Make
To get started, you must first create a connection between Monday.com and Make, allowing the two services to communicate.
To create the connection, you need to:
Obtain your Personal API Token in monday.com
Before you create the connection in Make, you should first obtain a Personal API Token in your monday.com account.
To obtain the Personal API Token:
Log in to your monday.com account.
Click your profile icon > Admin.
Navigate to the API section.
To use a new token, click Create a new API Token, copy the Personal API Token, and store it in a safe place.
To use an existing token, copy the Personal API Token and store it in a safe place.
You'll use this value in the API key connection field in Make.
Create the connection in Make
Log in to your Make account, add a monday.com module to your scenario, and click Create a connection.
If you add a module with an instant tag, click Create a webhook, then Create a connection.
Optional: In the Connection name field, enter a name for the connection.
In the API key field, enter the Personal API Token you copied from your monday.com account.
Click Save.
If prompted, authenticate your account and confirm access.
You've successfully created the connection and can now use the monday.com app in your scenarios. If you want to make changes to your connection in the future, follow the steps here.
Set up a monday.com webhook
The monday.com app has instant modules—webhooks that watch for certain changes in monday.com and immediately start your scenario when those changes happen. To use these modules, you must set up the webhook in your monday.com account.
To set up the webhook:
Add a monday.com instant module to your scenario and click Create a webhook.
Optional: Enter a name for the webhook in the Webhook name field.
In the Connection field, select a connection for the webhook.
If you haven't created a monday.com connection yet, refer to the Connect monday.com and Make section above.
Click Save > Copy address to clipboard. You'll paste this address in your monday.com account.
Log in to your monday.com account.
In the left sidebar, select your item under the workspace name. If you don't have any item in your workspace, click + icon to create one.
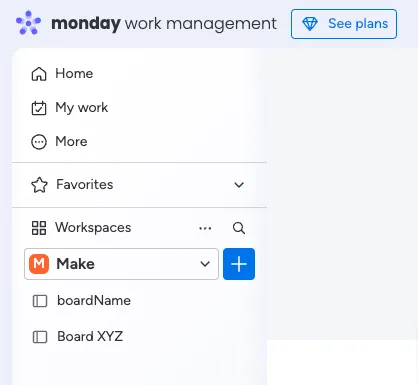
Click Automate.
Search for webhooks that will appear under Integrations and select it.
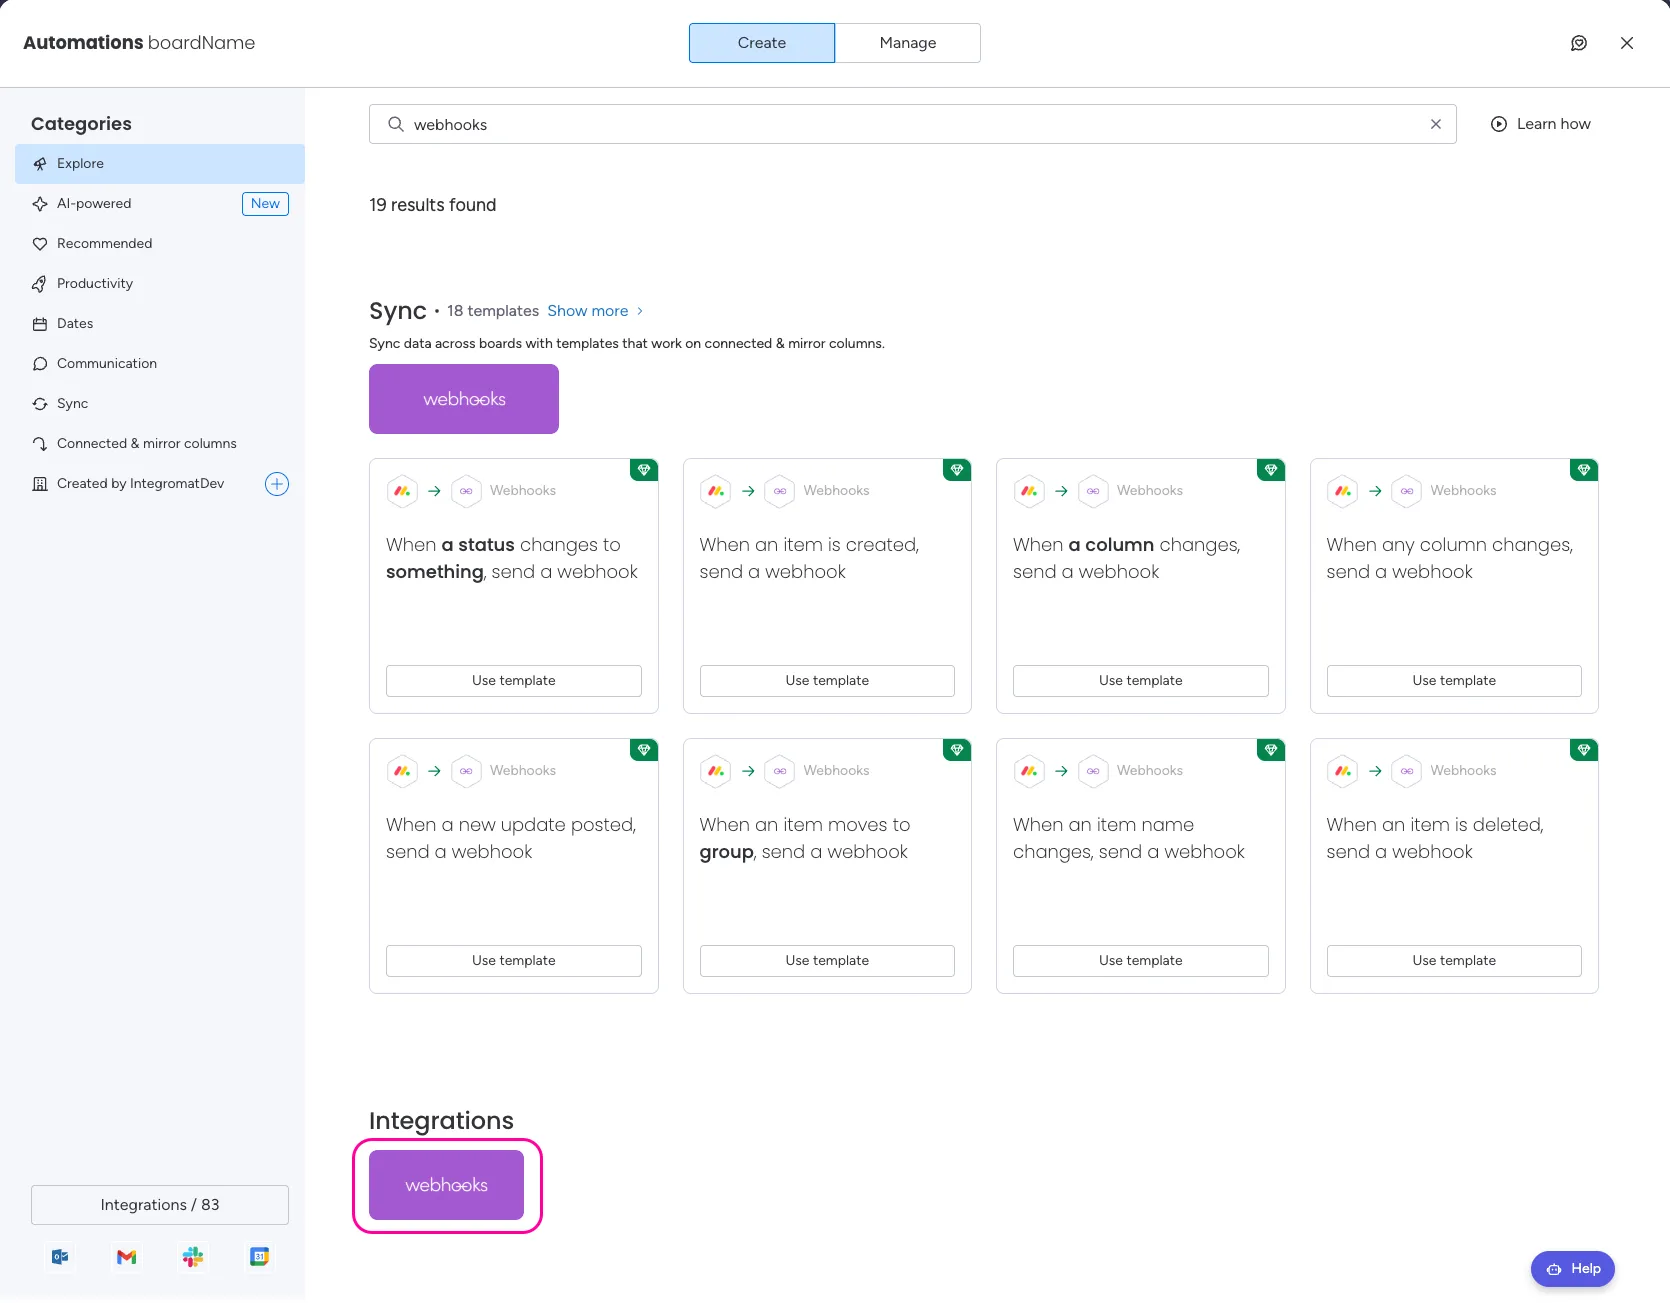
Select a template that you want to use.
To register a new webhook, click Use another account.
In the Webhook URL field, paste the webhook URL copied in step 4.
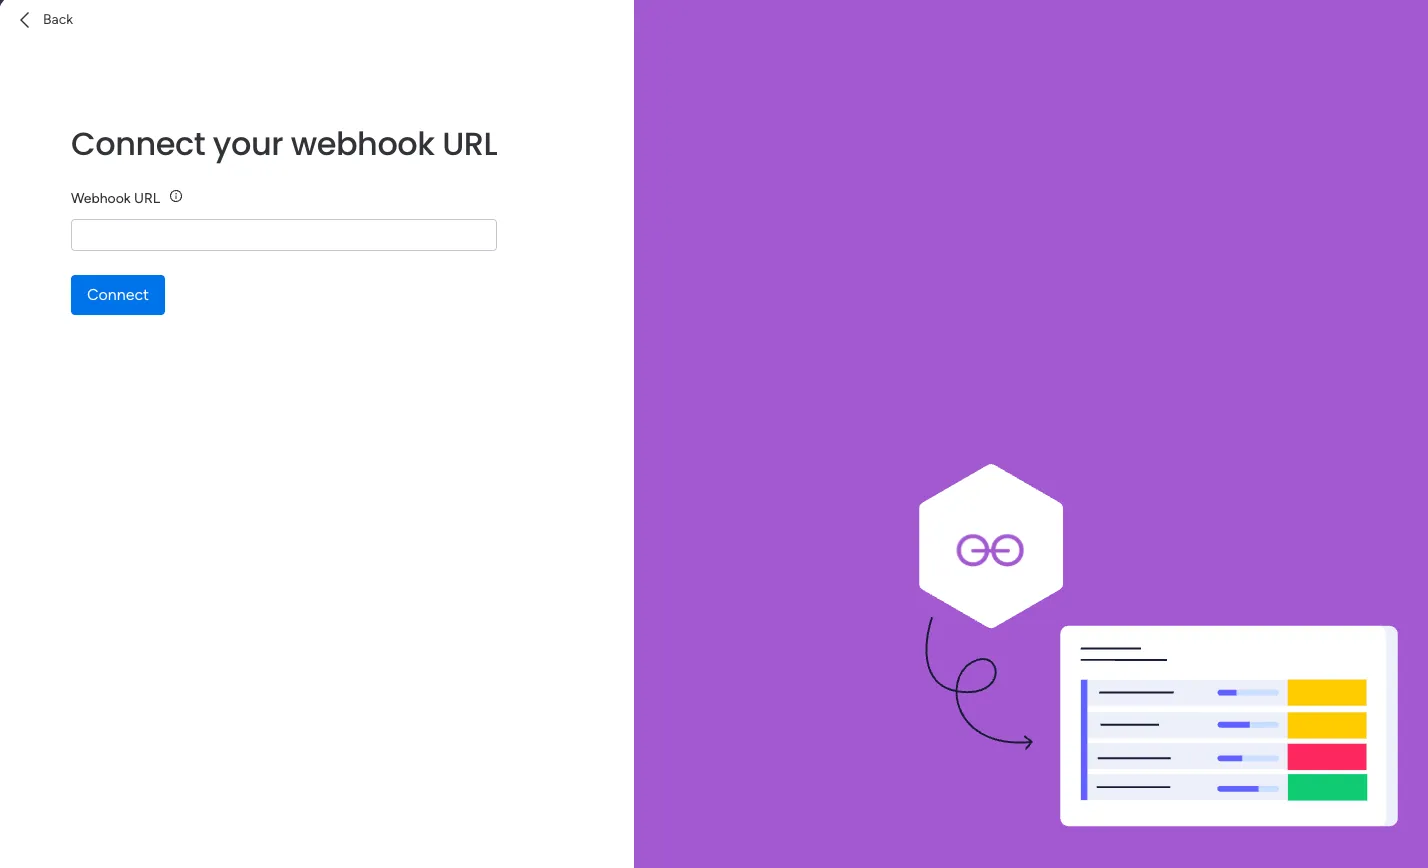
Click Connect > Create automation.
Once your webhook is set up, it's recommended to run the module and trigger the event once to ensure the Make scenario will allow you to map the values available in the output properly. This helps you see that your automation works as expected.
Your webhook is now set up. When the selected change occurs in monday.com, Make will immediately be notified and start your scenario.
monday.com modules
After connecting to the monday.com app, you can use the following types of modules to build your scenarios.
To use the Run monday.com AI (beta) and Run Platform Agent (beta) modules, you must have the External AI gateway access enabled in your monday.com account.

Templates
You can look for monday.com templates in Make's template gallery, where you'll find thousands of pre-created scenarios.